How Scalp Micropigmentation Works: A Step-by-Step Guide
At ScalpMasters, located in Cranston, Rhode Island, we specialize in scalp micropigmentation (SMP), a revolutionary non-surgical solution for hair loss. Understanding the process can help demystify this highly effective treatment and illustrate why it's such a popular choice for individuals seeking to restore their hair’s appearance. Here’s a step-by-step guide to how scalp micropigmentation works.
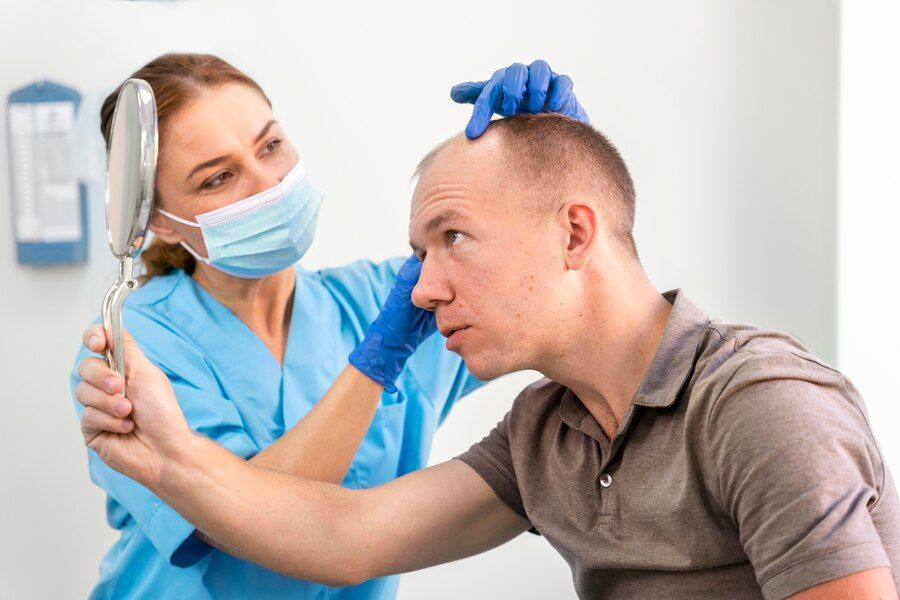
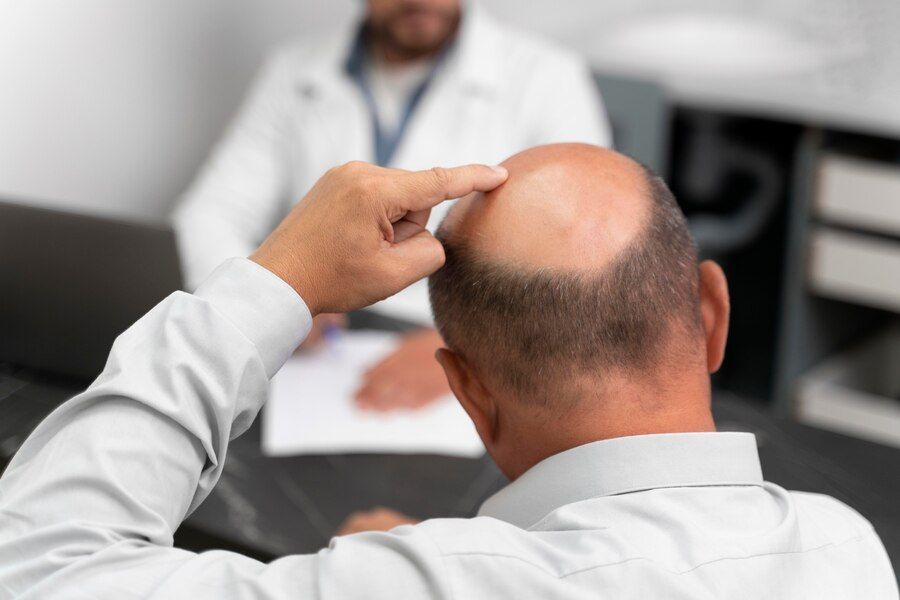
Step 1: Initial Consultation
The journey begins with an initial consultation at our Cranston clinic. During this session, our experienced technicians will assess your hair loss pattern, scalp condition, and overall health. We will discuss your desired look and answer any questions you may have about the procedure. This consultation is crucial to develop a personalized treatment plan that meets your specific needs and expectations.
Step 2: Customizing the Hairline Design
Once the treatment plan is established, the next step is designing a natural-looking hairline. We take into account your facial structure, age, and personal preferences to create a hairline that compliments your appearance. Whether you want a sharp, defined hairline or a soft, more subtle look, our technicians will work with you to achieve the perfect design.
Step 3: Choosing the Right Pigments
Selecting the right pigment is essential for achieving natural-looking results. At ScalpMasters, we use high-quality, hypoallergenic pigments that match your natural hair color and skin tone. Our technicians mix the pigments to ensure a seamless blend with your existing hair, providing a realistic and undetectable finish.
Step 4: Preparing the Scalp
Before the procedure begins, your scalp will be thoroughly cleaned and prepped. If necessary, any existing hair will be trimmed to ensure even application of the pigments. This preparation helps create a clean and optimal surface for the micropigmentation process.
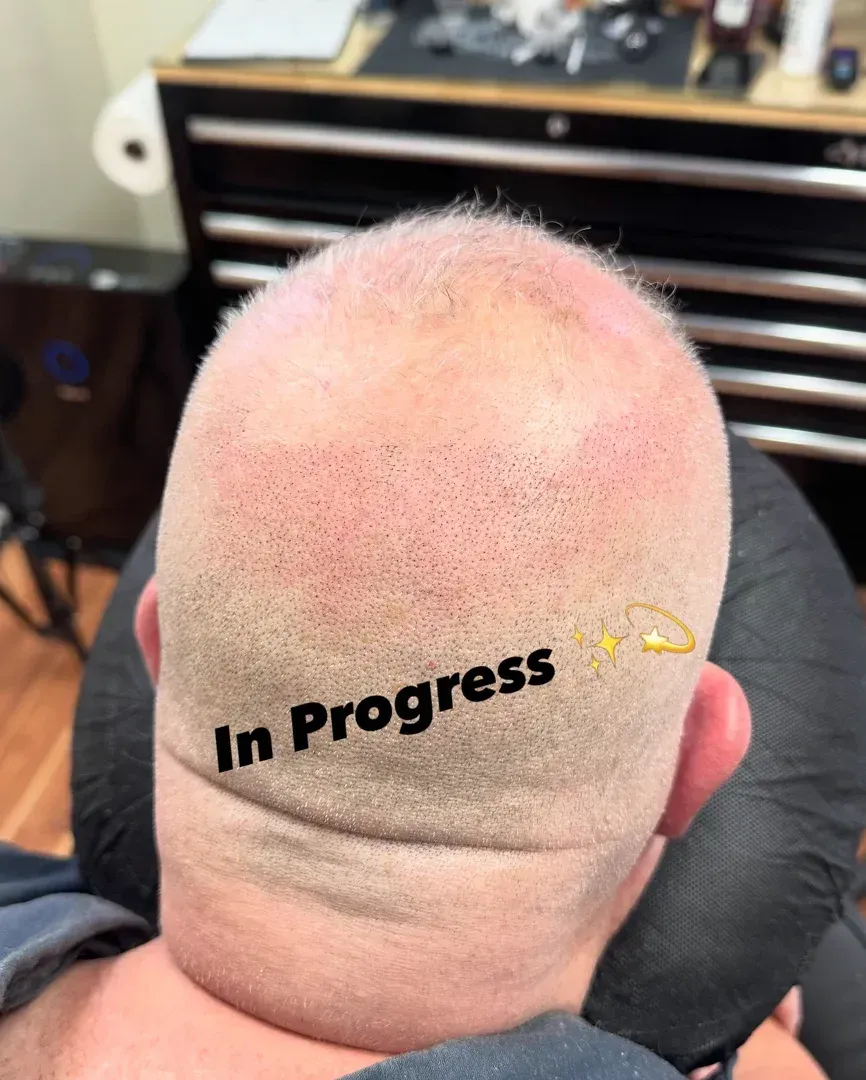
Step 5: Micropigmentation Procedure
The scalp micropigmentation procedure involves using a specialized micro-needle to deposit tiny dots of pigment into the upper layers of the scalp. These dots mimic the appearance of hair follicles, creating the illusion of a fuller head of hair. The process is performed with precision and care to ensure consistent and natural-looking results. Depending on the extent of your hair loss, the procedure may take several hours to complete.
Step 6: Healing and Aftercare
After the procedure, you will be given detailed aftercare instructions to ensure proper healing and optimal results. It’s common to experience mild redness and tenderness on the scalp, which typically subsides within a few days. You will need to avoid excessive sweating, direct sunlight, and harsh hair products during the initial healing period.
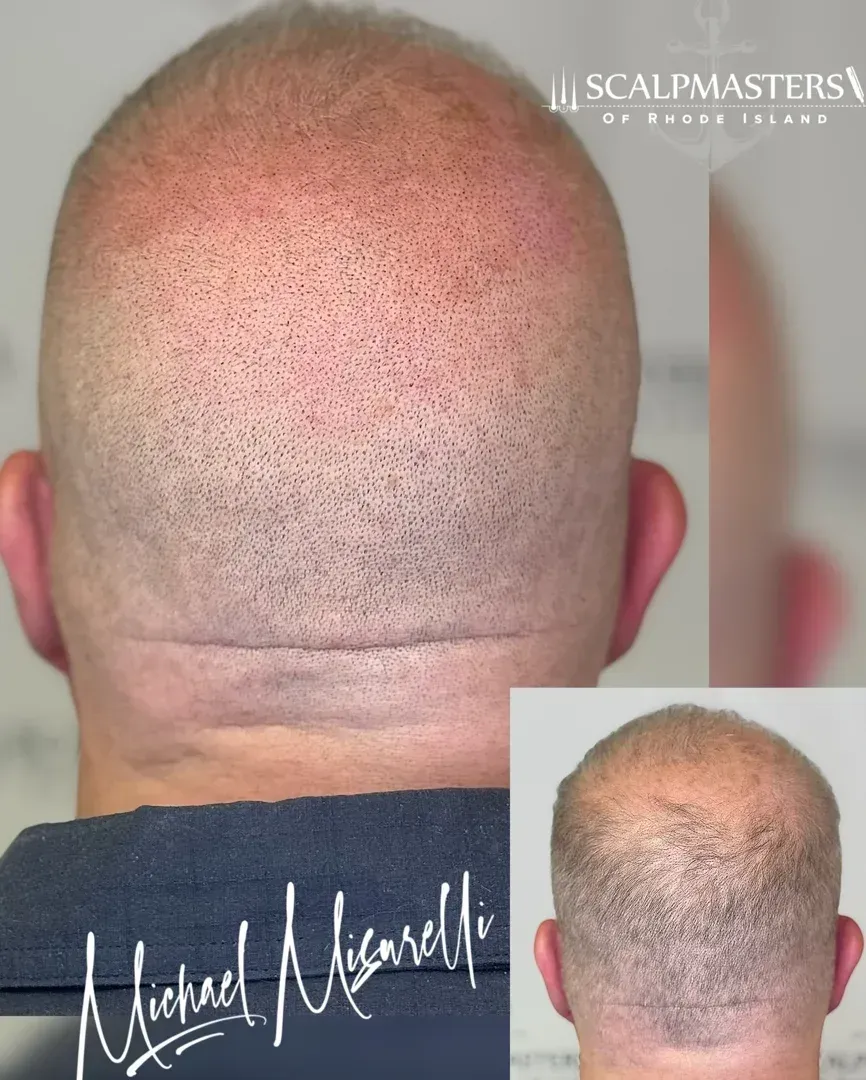
Step 7: Follow-Up Sessions
Most clients require two to three sessions to achieve the desired density and coverage. These follow-up sessions are scheduled several weeks apart to allow for proper healing and assessment of the initial results. During these sessions, our technicians will make any necessary adjustments to ensure the final outcome meets your expectations.
Step 8: Long-Term Maintenance
Scalp micropigmentation offers long-lasting results, but occasional touch-ups may be needed to maintain the appearance over time. The frequency of touch-ups depends on various factors, including your skin type, lifestyle, and sun exposure. Our team will provide guidance on how to care for your scalp and schedule maintenance sessions as needed.
Discover the Benefits of Scalp Micropigmentation at ScalpMasters
Scalp micropigmentation is a safe, effective, and non-invasive solution for hair loss that provides immediate and natural-looking results. At ScalpMasters in Cranston, Rhode Island, we are committed to helping you regain your confidence with our expert SMP services. Contact us today to schedule a consultation and take the first step towards a fuller, more youthful appearance.
Learn More
What's New
Latest Hair Loss Solutions & Guides